Phone Holder for Waiparuru Hall
I always want to keep the desk I work on organised. So, I decided to design a phone holder for the desk at Waipārūrū Hall, where I work on weekends. I used a nest and a wasp in my design, as the wasp is the mascot for Waipārūrū Hall. I modelled the holder in Rhino, combining the organic shape of a nest with the wasp motif to create a functional and visually appealing concept.
Having the physical version in hand makes the project feel more real and motivating. The holder fits comfortably on the desk and keeps the phone at a convenient angle for viewing notifications or making video calls. Its nest-like form gives it a natural, organic look, while the wasp detail adds a unique and meaningful connection to Waipārūrū Hall. The texture and curves of the design also make it visually interesting, so it feels more like a decorative piece than just a tool.
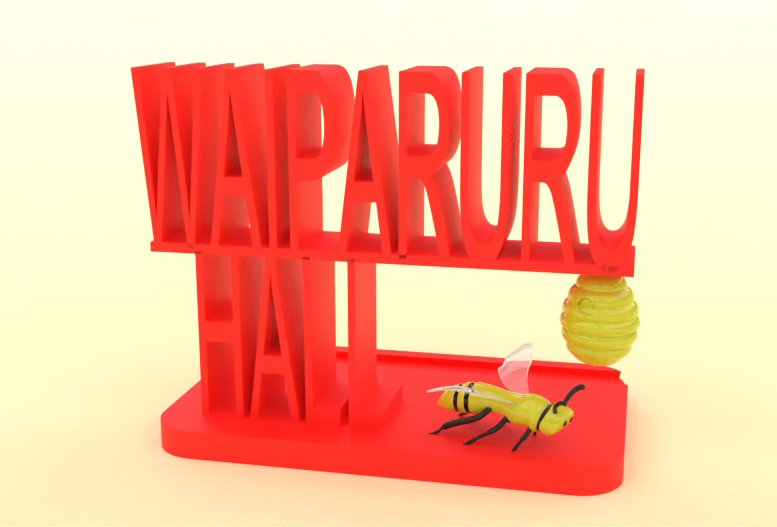
Rendered model
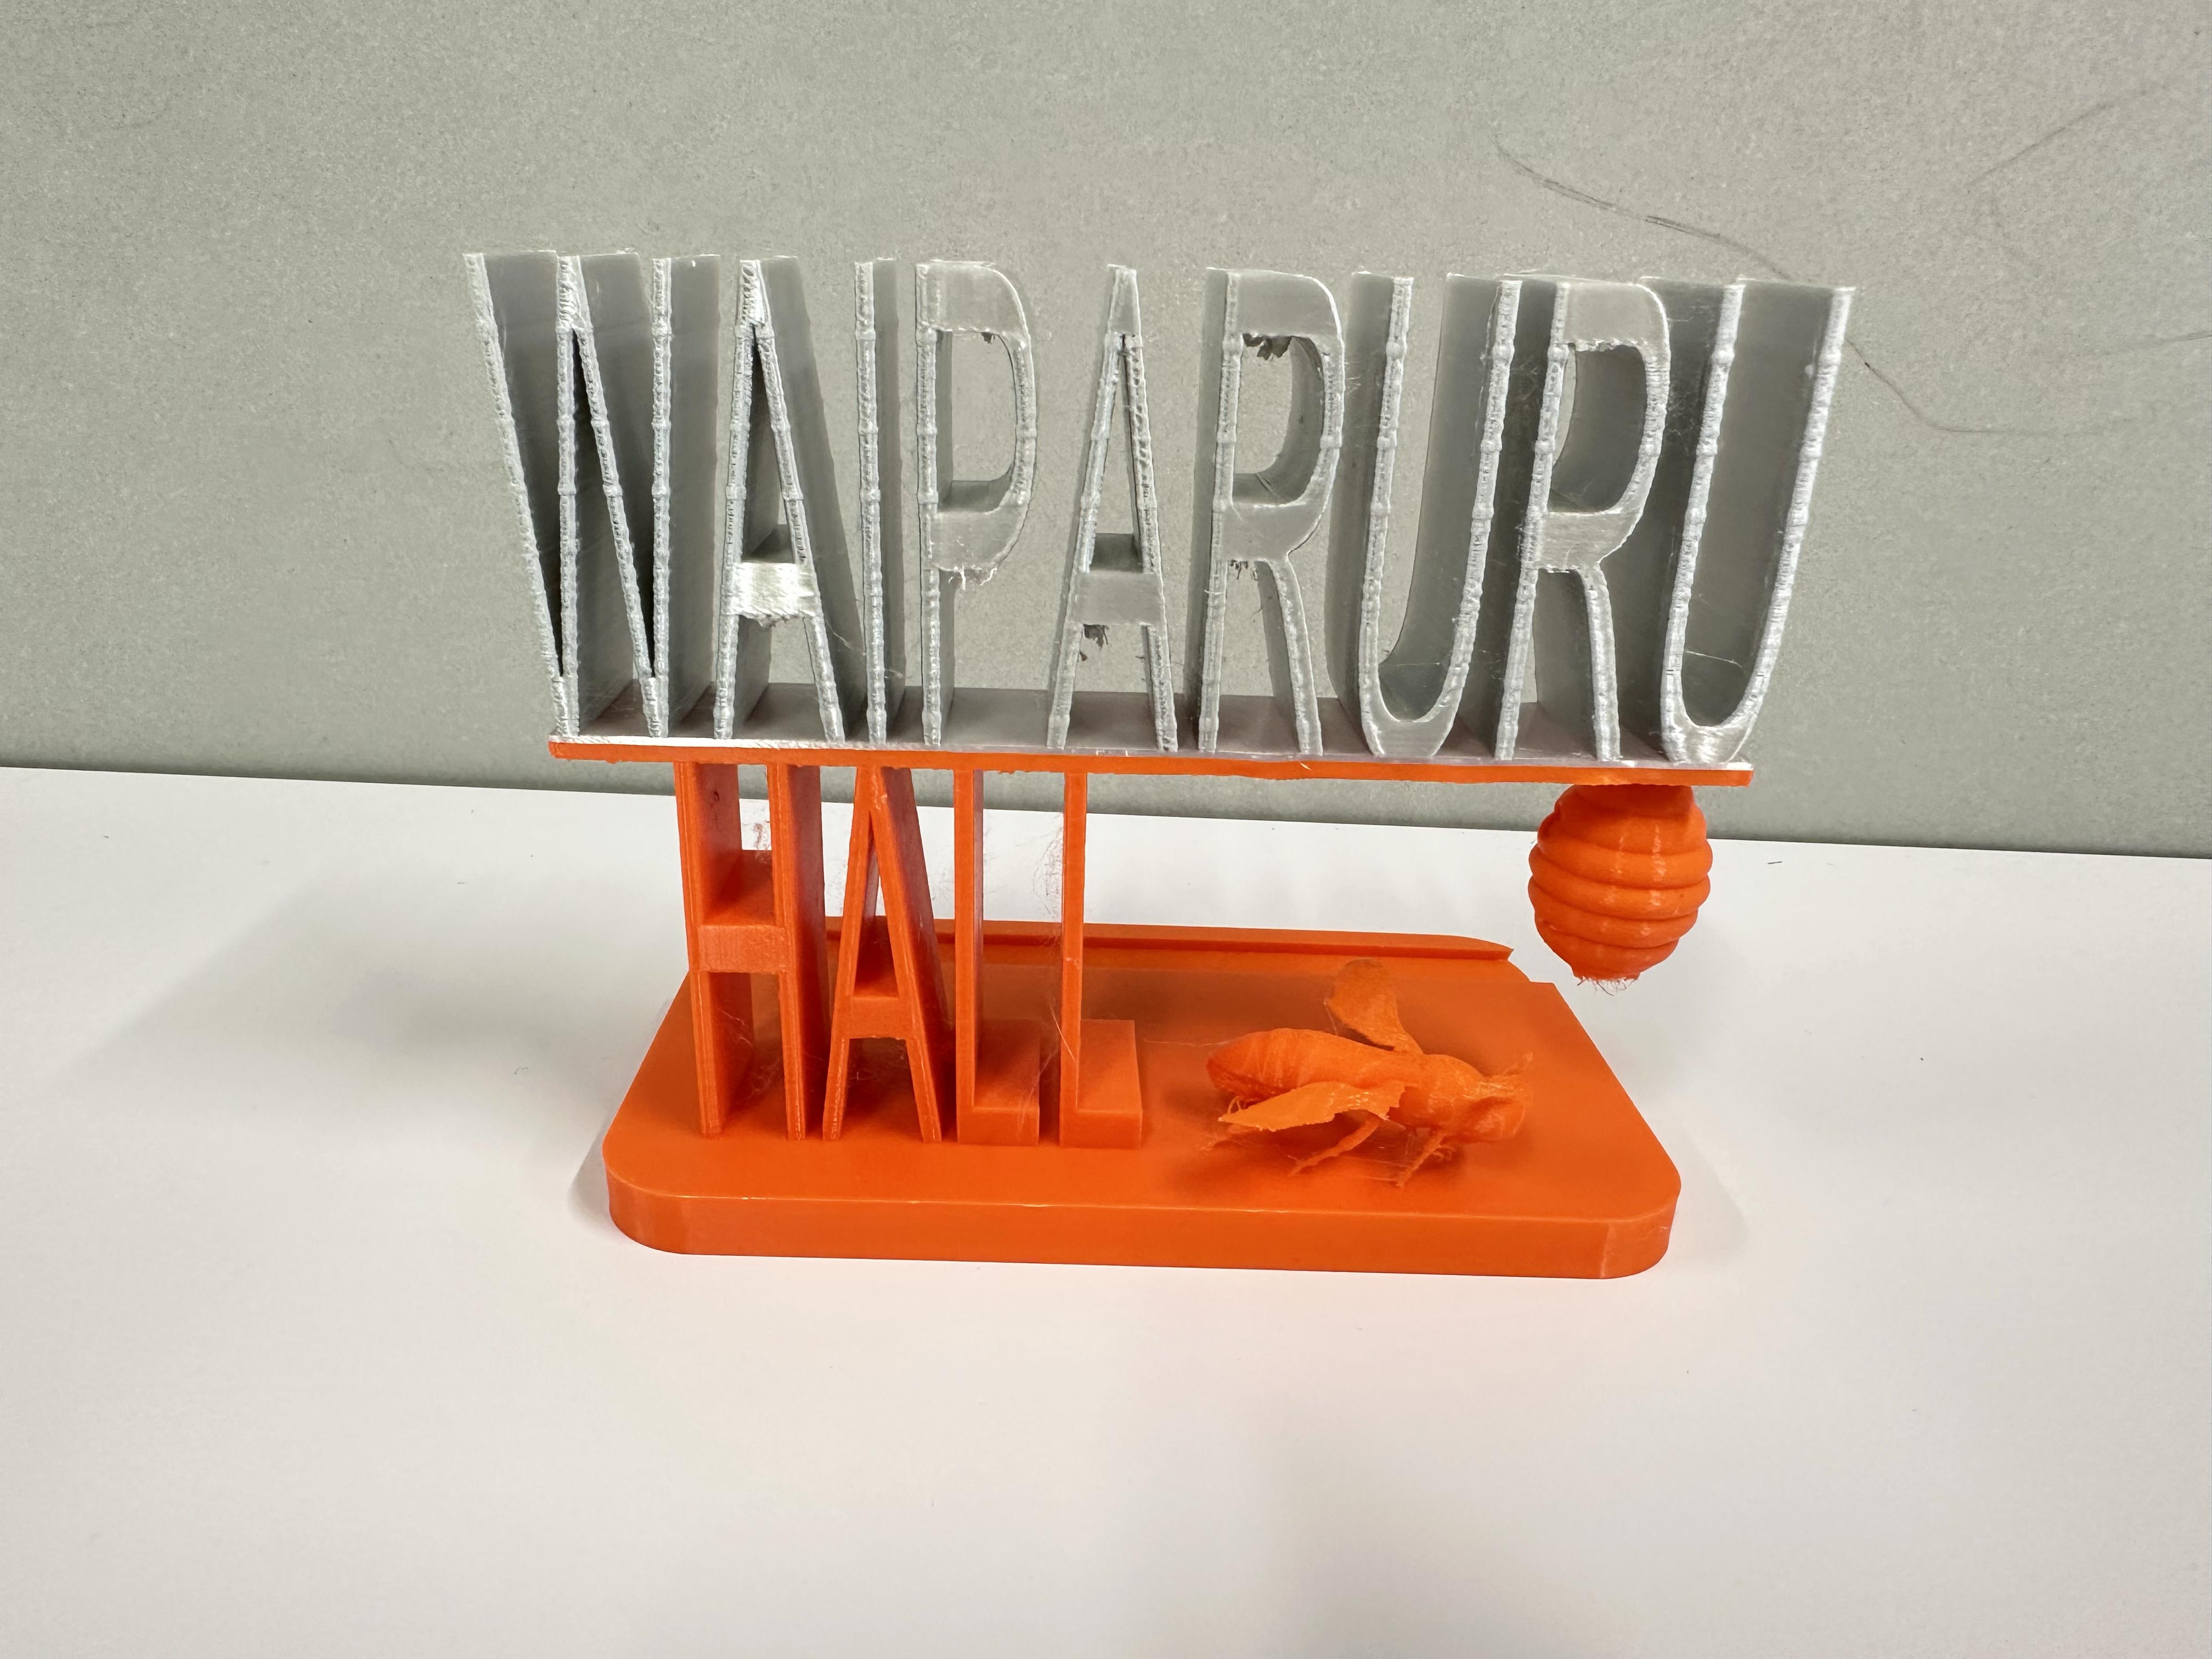
3D printed model
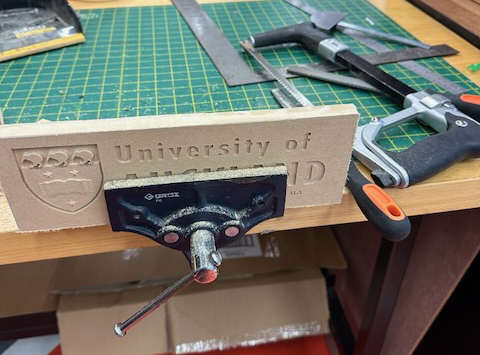
The CNC carved logo of The University of Auckland
As a creative project, I designed a custom logo for The University of Auckland and brought it to life through digital design, CNC carving, and hand painting.
The journey began in SolidWorks, where I created a detailed 3D model of the logo. Once the design was finalized, I exported it as an STL file, ready for carving. The file was then transferred to the computer connected to a small CNC machine at the university’s Unleash Space — a maker’s paradise where ideas meet machines!
To begin the carving process, I first used a thick CNC bit to shape out the coarse and broader features of the design. Then, to capture the intricate details and subtle curves, I switched to a smaller, finer bit that gently etched the wood with precision. It was mesmerizing to watch the machine reveal the logo layer by layer!
Once the carving was complete, I carefully cut the piece into a neat rectangular frame using a saw, giving it a clean and polished look. But the real magic happened in the final stage — painting! Using fine brushes and vibrant acrylic paints, I brought the logo to life with color, patiently adding depth and contrast to each part of the design.
The finished piece not only showcases the university's emblem but also reflects the blend of engineering, craftsmanship, and artistic expression — a small wooden tribute to innovation and creativity at The University of Auckland!
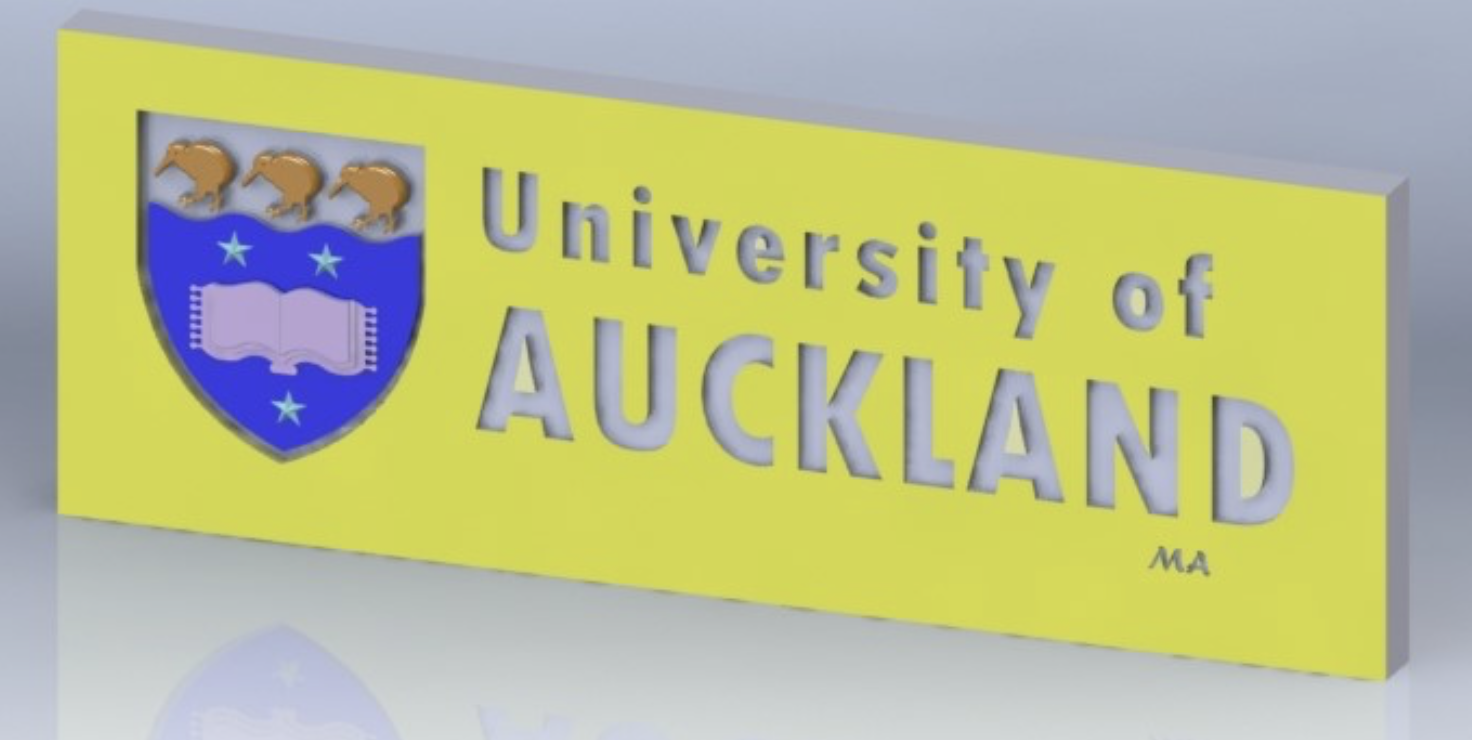
Design render with Solidworks
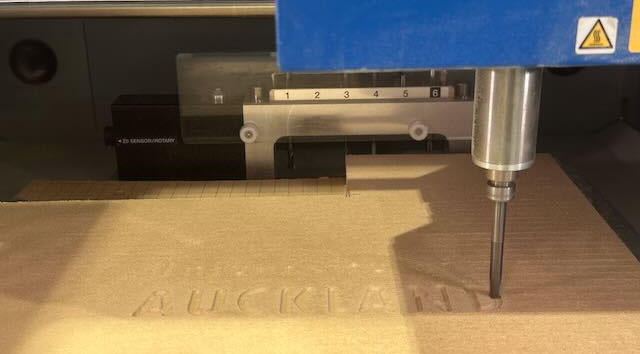
CNC machine carving the wooden sheet
Cutting out the frame
Final wooden frame with the logo of the university
3D printed Kiwi bird
As a creative 3D design project, I brought not one — but two unique Kiwi birds to life using CAD and 3D printing!
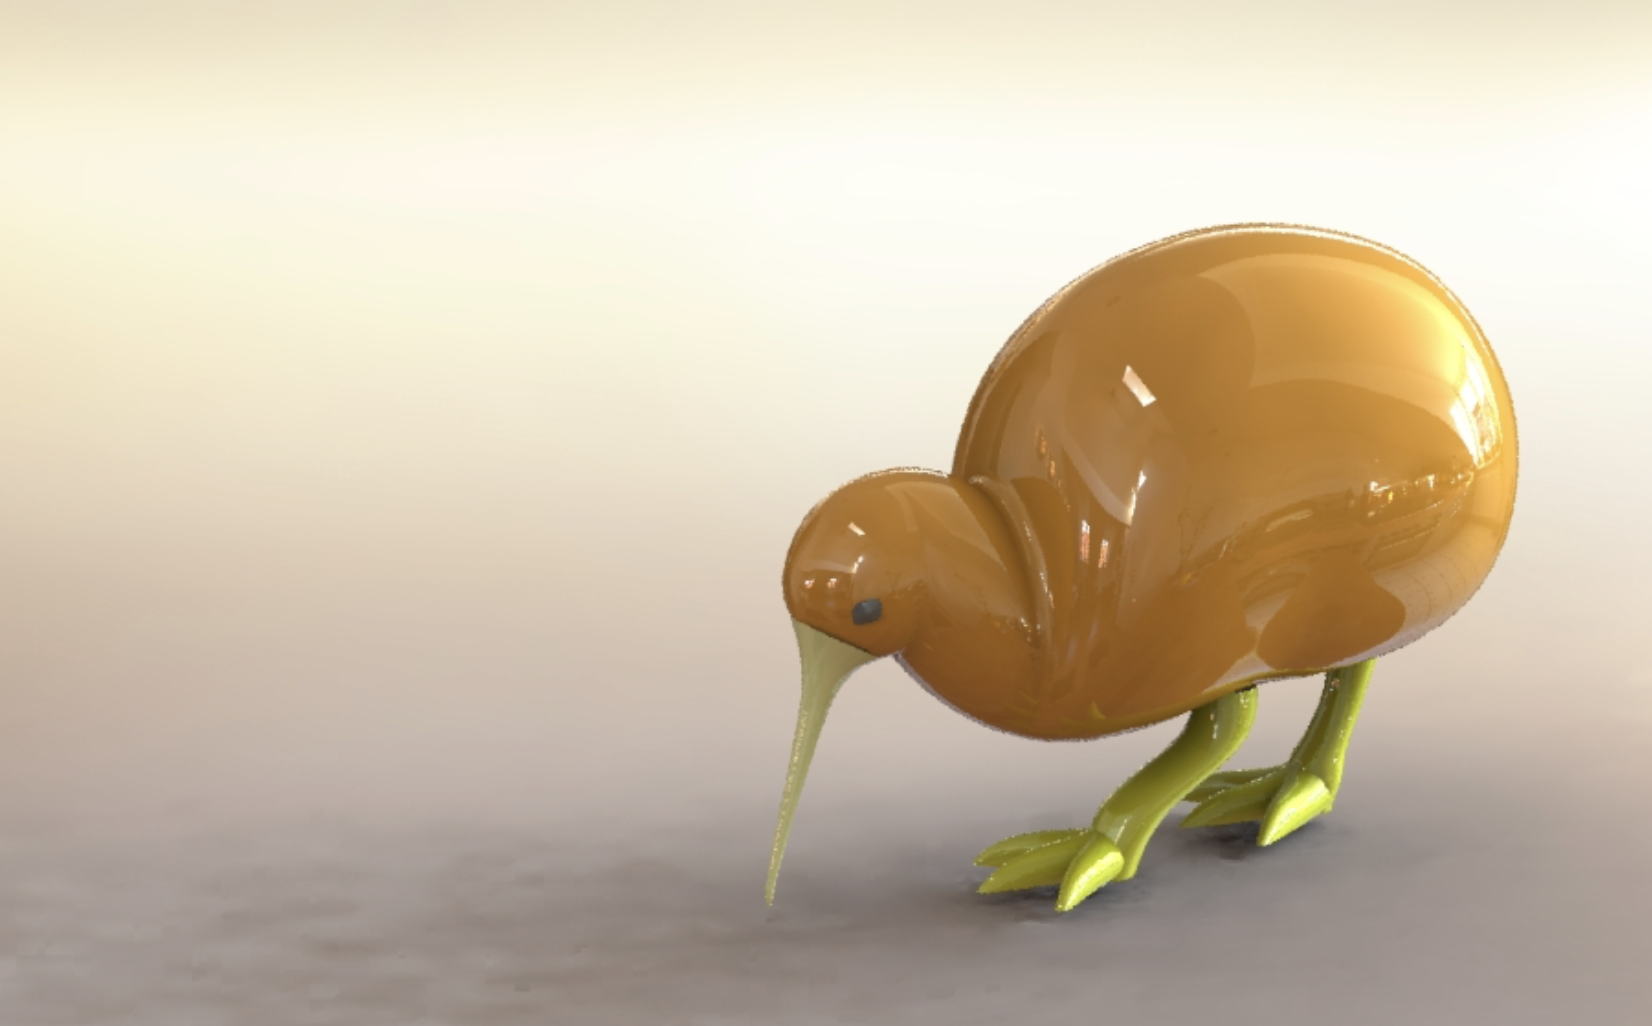
Using SolidWorks, I carefully designed each Kiwi with its own character and style. One design featured a more realistic, traditional look, staying true to the Kiwi’s natural shape, while the other took on a more playful and stylized form, adding a bit of personality and charm. Balancing artistic creativity with printable geometry was both a fun and technical challenge!
Once satisfied with the models, I exported them and fired up the Prusa 3D printer. Layer by layer, the birds came to life in the printing bay — watching them slowly build up from nothing felt like magic. Each Kiwi emerged with its own distinct identity, full of charm and proudly standing as a symbol of New Zealand’s unique wildlife and innovation culture.
This project was a fantastic mix of engineering, design, and creativity, and a great reminder that even something as iconic as a Kiwi can be reimagined in new and exciting ways through the world of 3D printing.
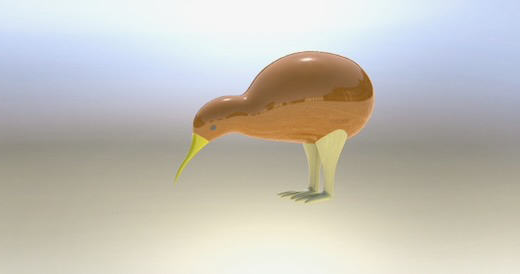
Kiwi bird
Kiwi bird
Designing a Kiwi bird in Solidworks
Designing a Kiwi bird in Solidworks
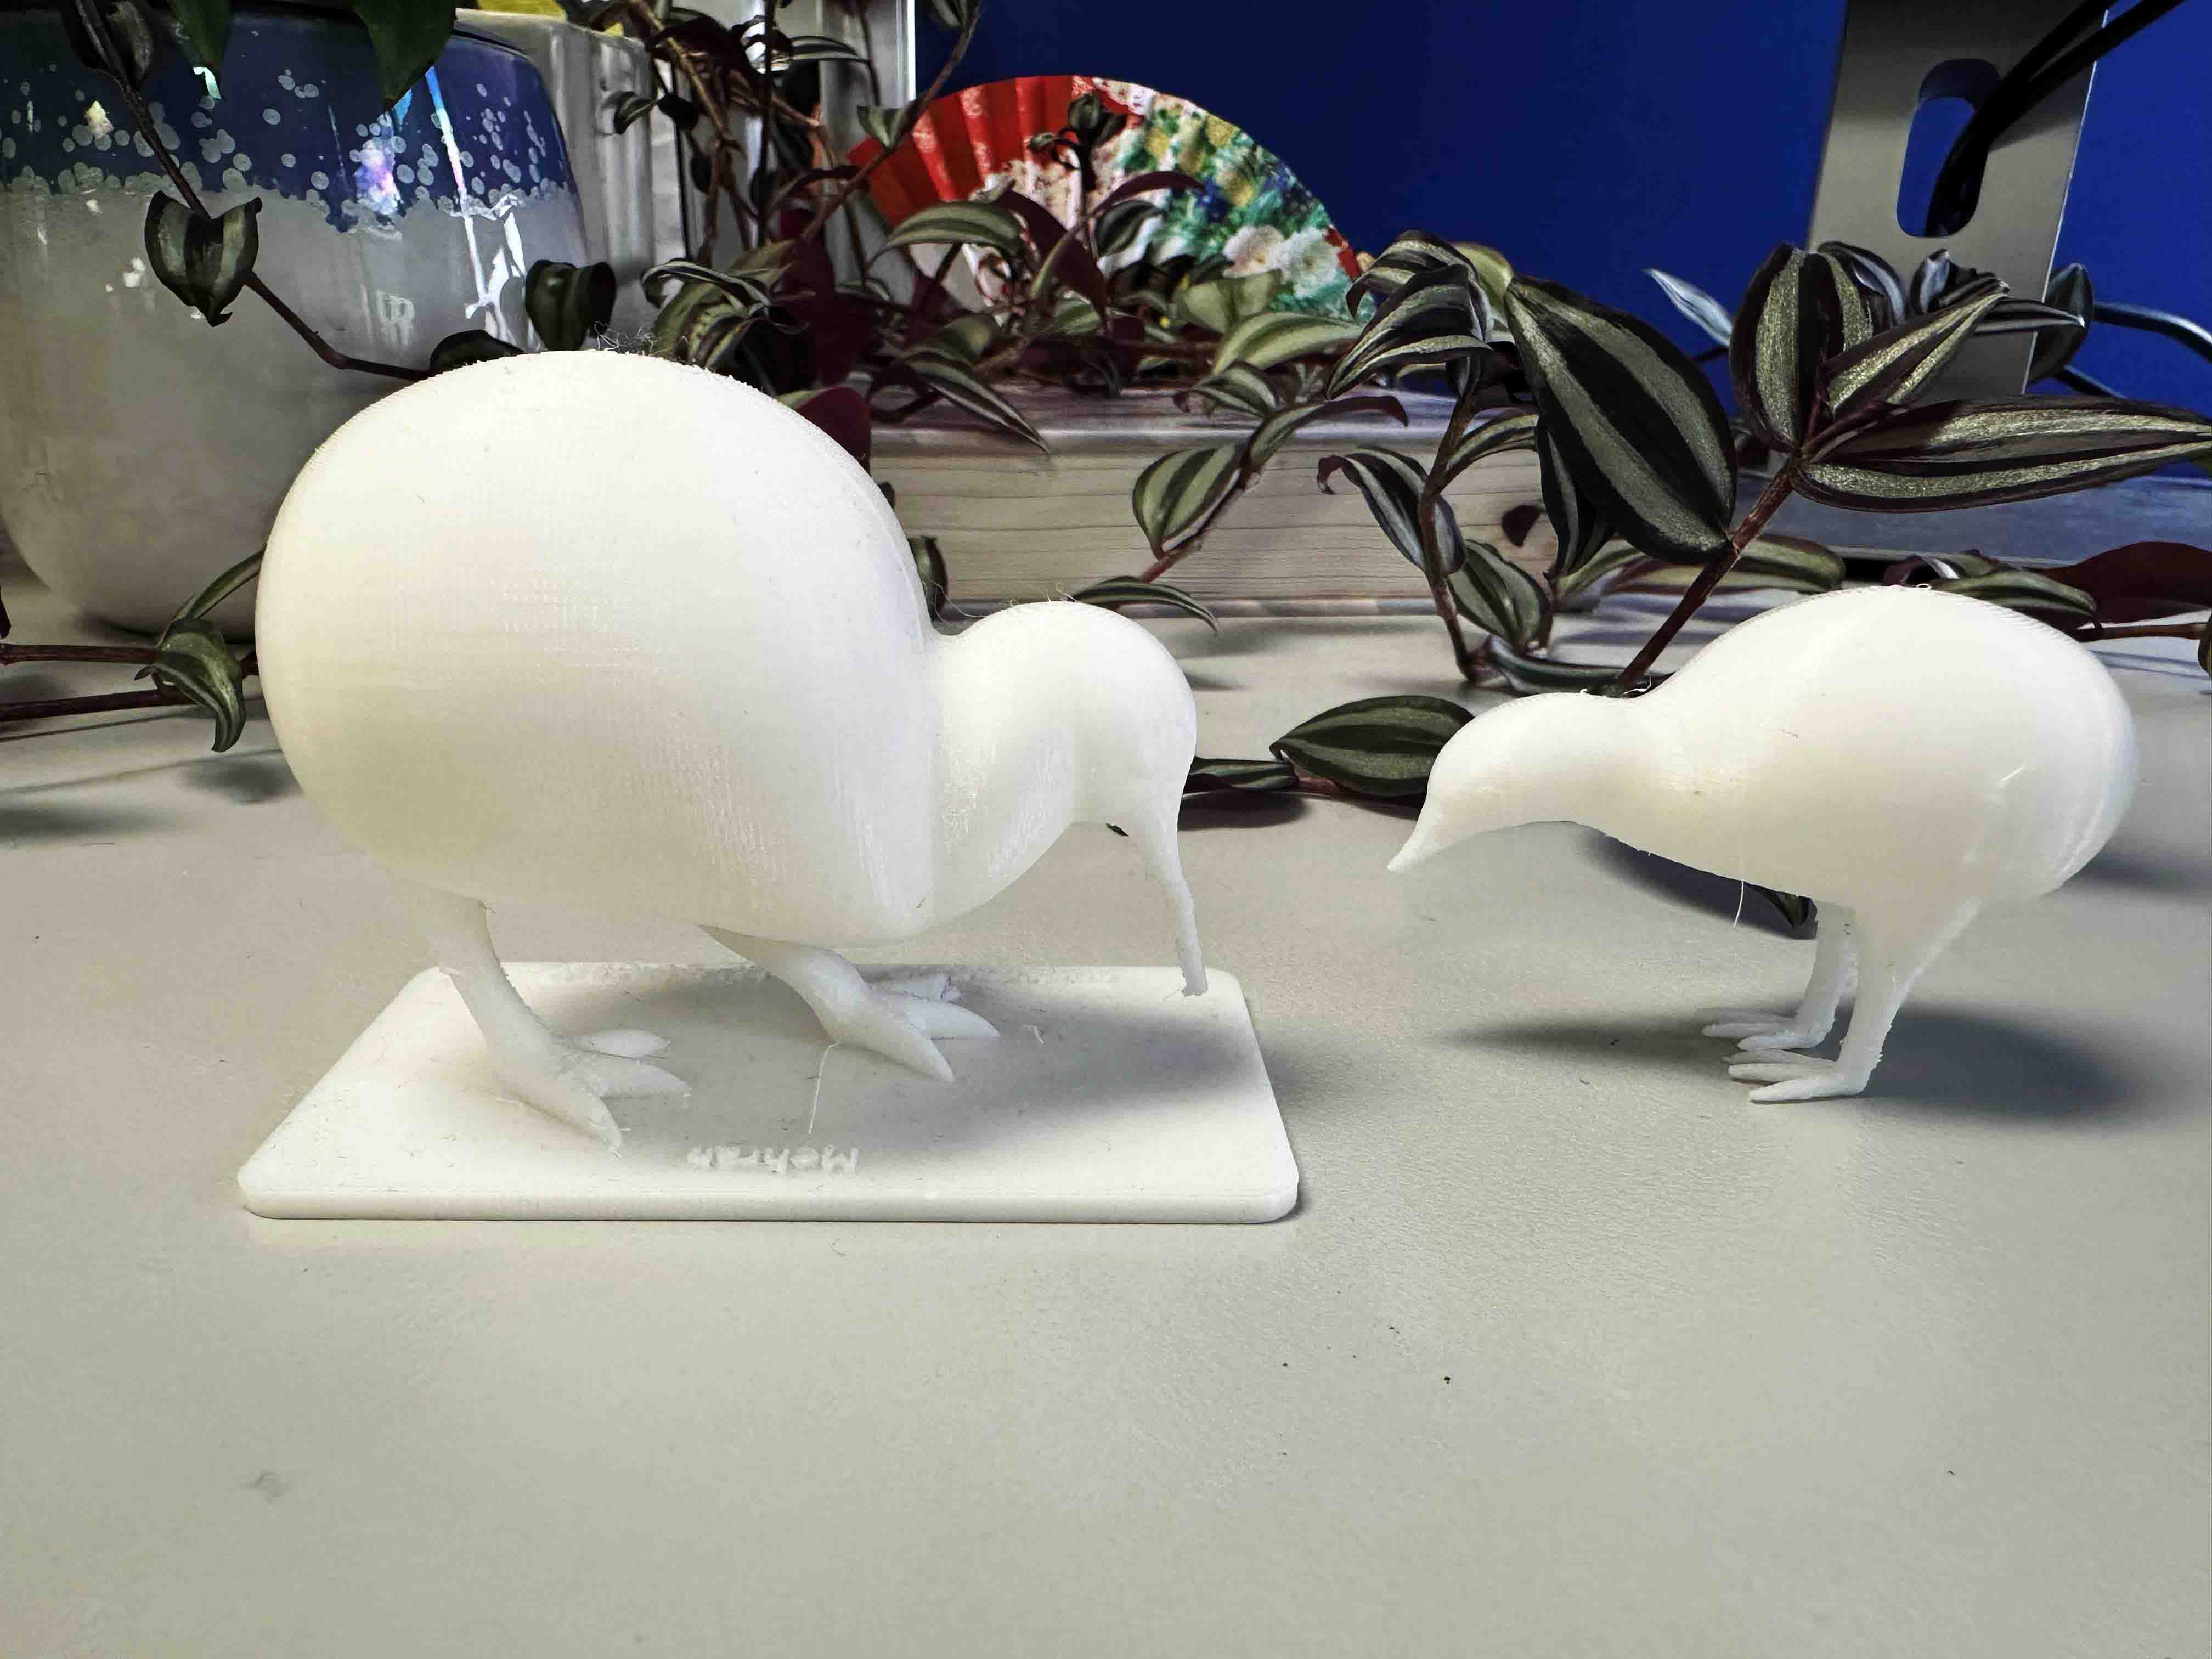
3D printed Kiwi birds
3D printed Silver Fern
Inspired by the elegance and symbolism of the silver fern, I set out to create a 3D-printed piece that felt both modern and deeply connected to New Zealand’s identity.
I created a 3D model of New Zealand’s silver fern, aiming to capture its simple elegance.
Using SolidWorks, I made two versions — one close to the natural shape, and another with a cleaner, modern look.
Printing them on the Prusa was rewarding, watching each frond build up layer by layer until the whole fern took shape.
This project was a fun way to blend design and 3D printing while reimagining an iconic New Zealand symbol.
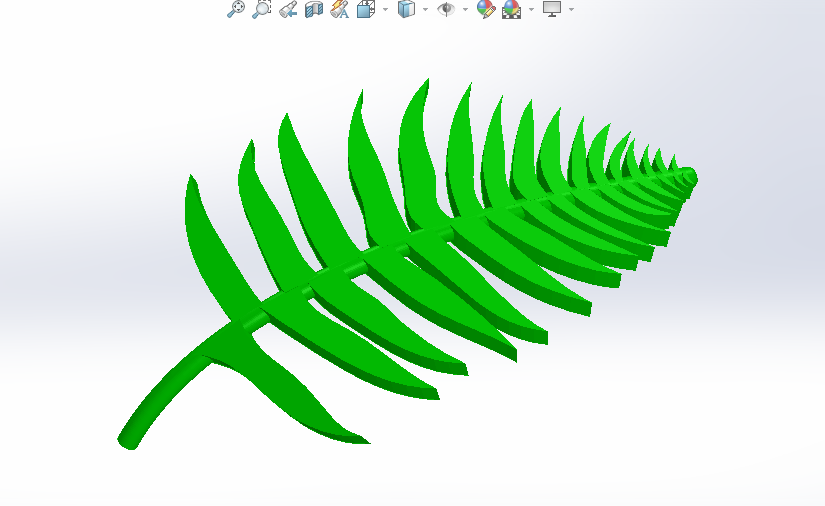
Silver Design in Solidworks
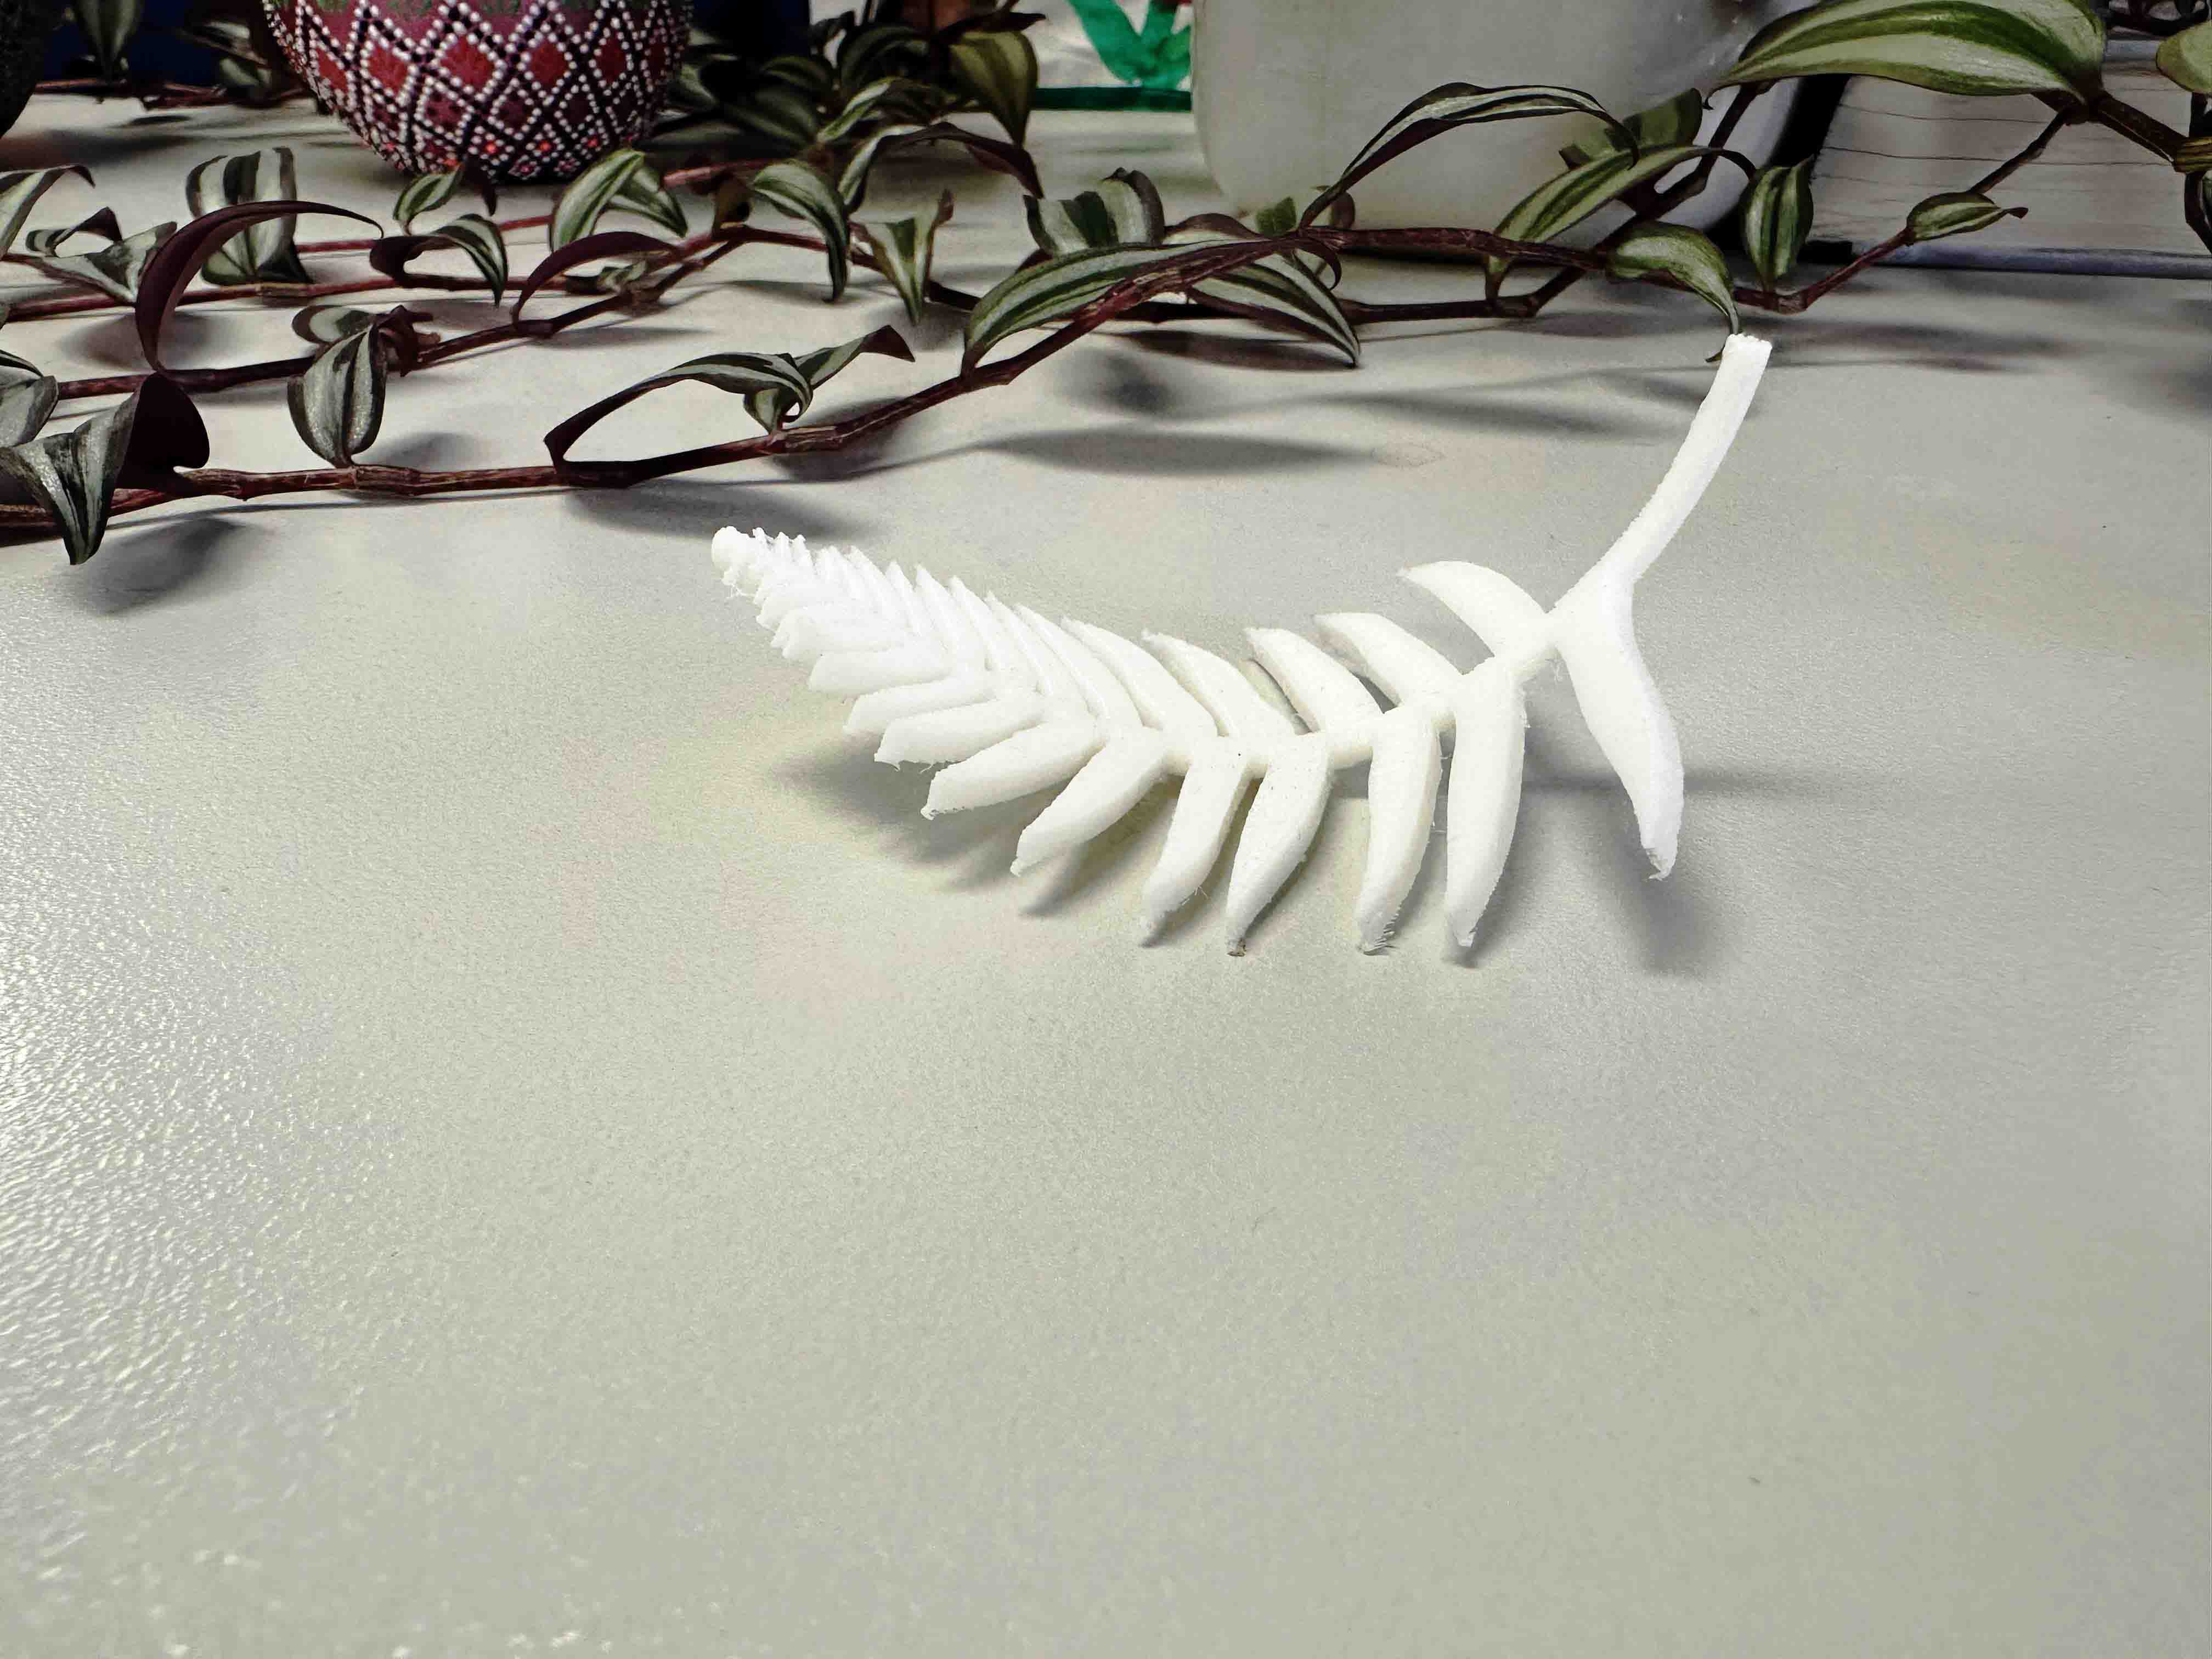
3D printed silver fern
Laser cut ABI Logo
As someone with a strong interest in designing artefacts and logos, I took on a creative project to design a custom logo for the Auckland Bioengineering Institute (ABI) — blending meaningful symbolism with modern fabrication techniques.
Using Adobe Photoshop, I designed the letters "ABI" with a twist:
- The “A” was represented by a compass, symbolizing direction, precision, and engineering.
- The “B” was formed by a heart, reflecting the institute’s connection to human health and biomedical research.
- And the “I” was illustrated using a DNA strand, capturing the essence of bioengineering at its core.
Once the digital design was complete, I prepared it for laser fabrication. Using a laser cutter, I engraved and cut the design onto a sheet of material, transforming my symbolic concept into a polished, physical artefact. Watching the laser etch these meaningful forms into reality was incredibly rewarding!
This project was not just about making a logo — it was about telling a visual story that celebrates engineering, biology, and human-centered research, all through thoughtful design and hands-on making.

Designing with Photoshop
Laser cut logo
Stationery Box for Waiparuru Hall
To help keep the reception desk at Waipārūrū Hall looking tidy and professional, I designed a custom stationery box featuring the hall’s logo — combining functionality with a touch of personalization.
The goal was to create an organized space for pens, notepads, and small office items that often clutter the desk. I designed the box with clean lines and thoughtful compartments, making it both practical and visually appealing.
To give it a distinctive identity, I added the Waipārūrū Hall logo to the design — turning a simple box into a branded and welcoming piece of desk decor. The final result not only improved the reception’s appearance but also reflected the hall’s spirit and attention to detail.
Everyone loved it! The feedback was so positive that I went on to design a smaller, personal version of the box for some of my colleagues. It was a fun way to share the design and bring a little order (and style) to their workspaces too.
This project combined my interest in practical design, branding, and problem-solving — showing how small ideas can make a big difference in shared environments.
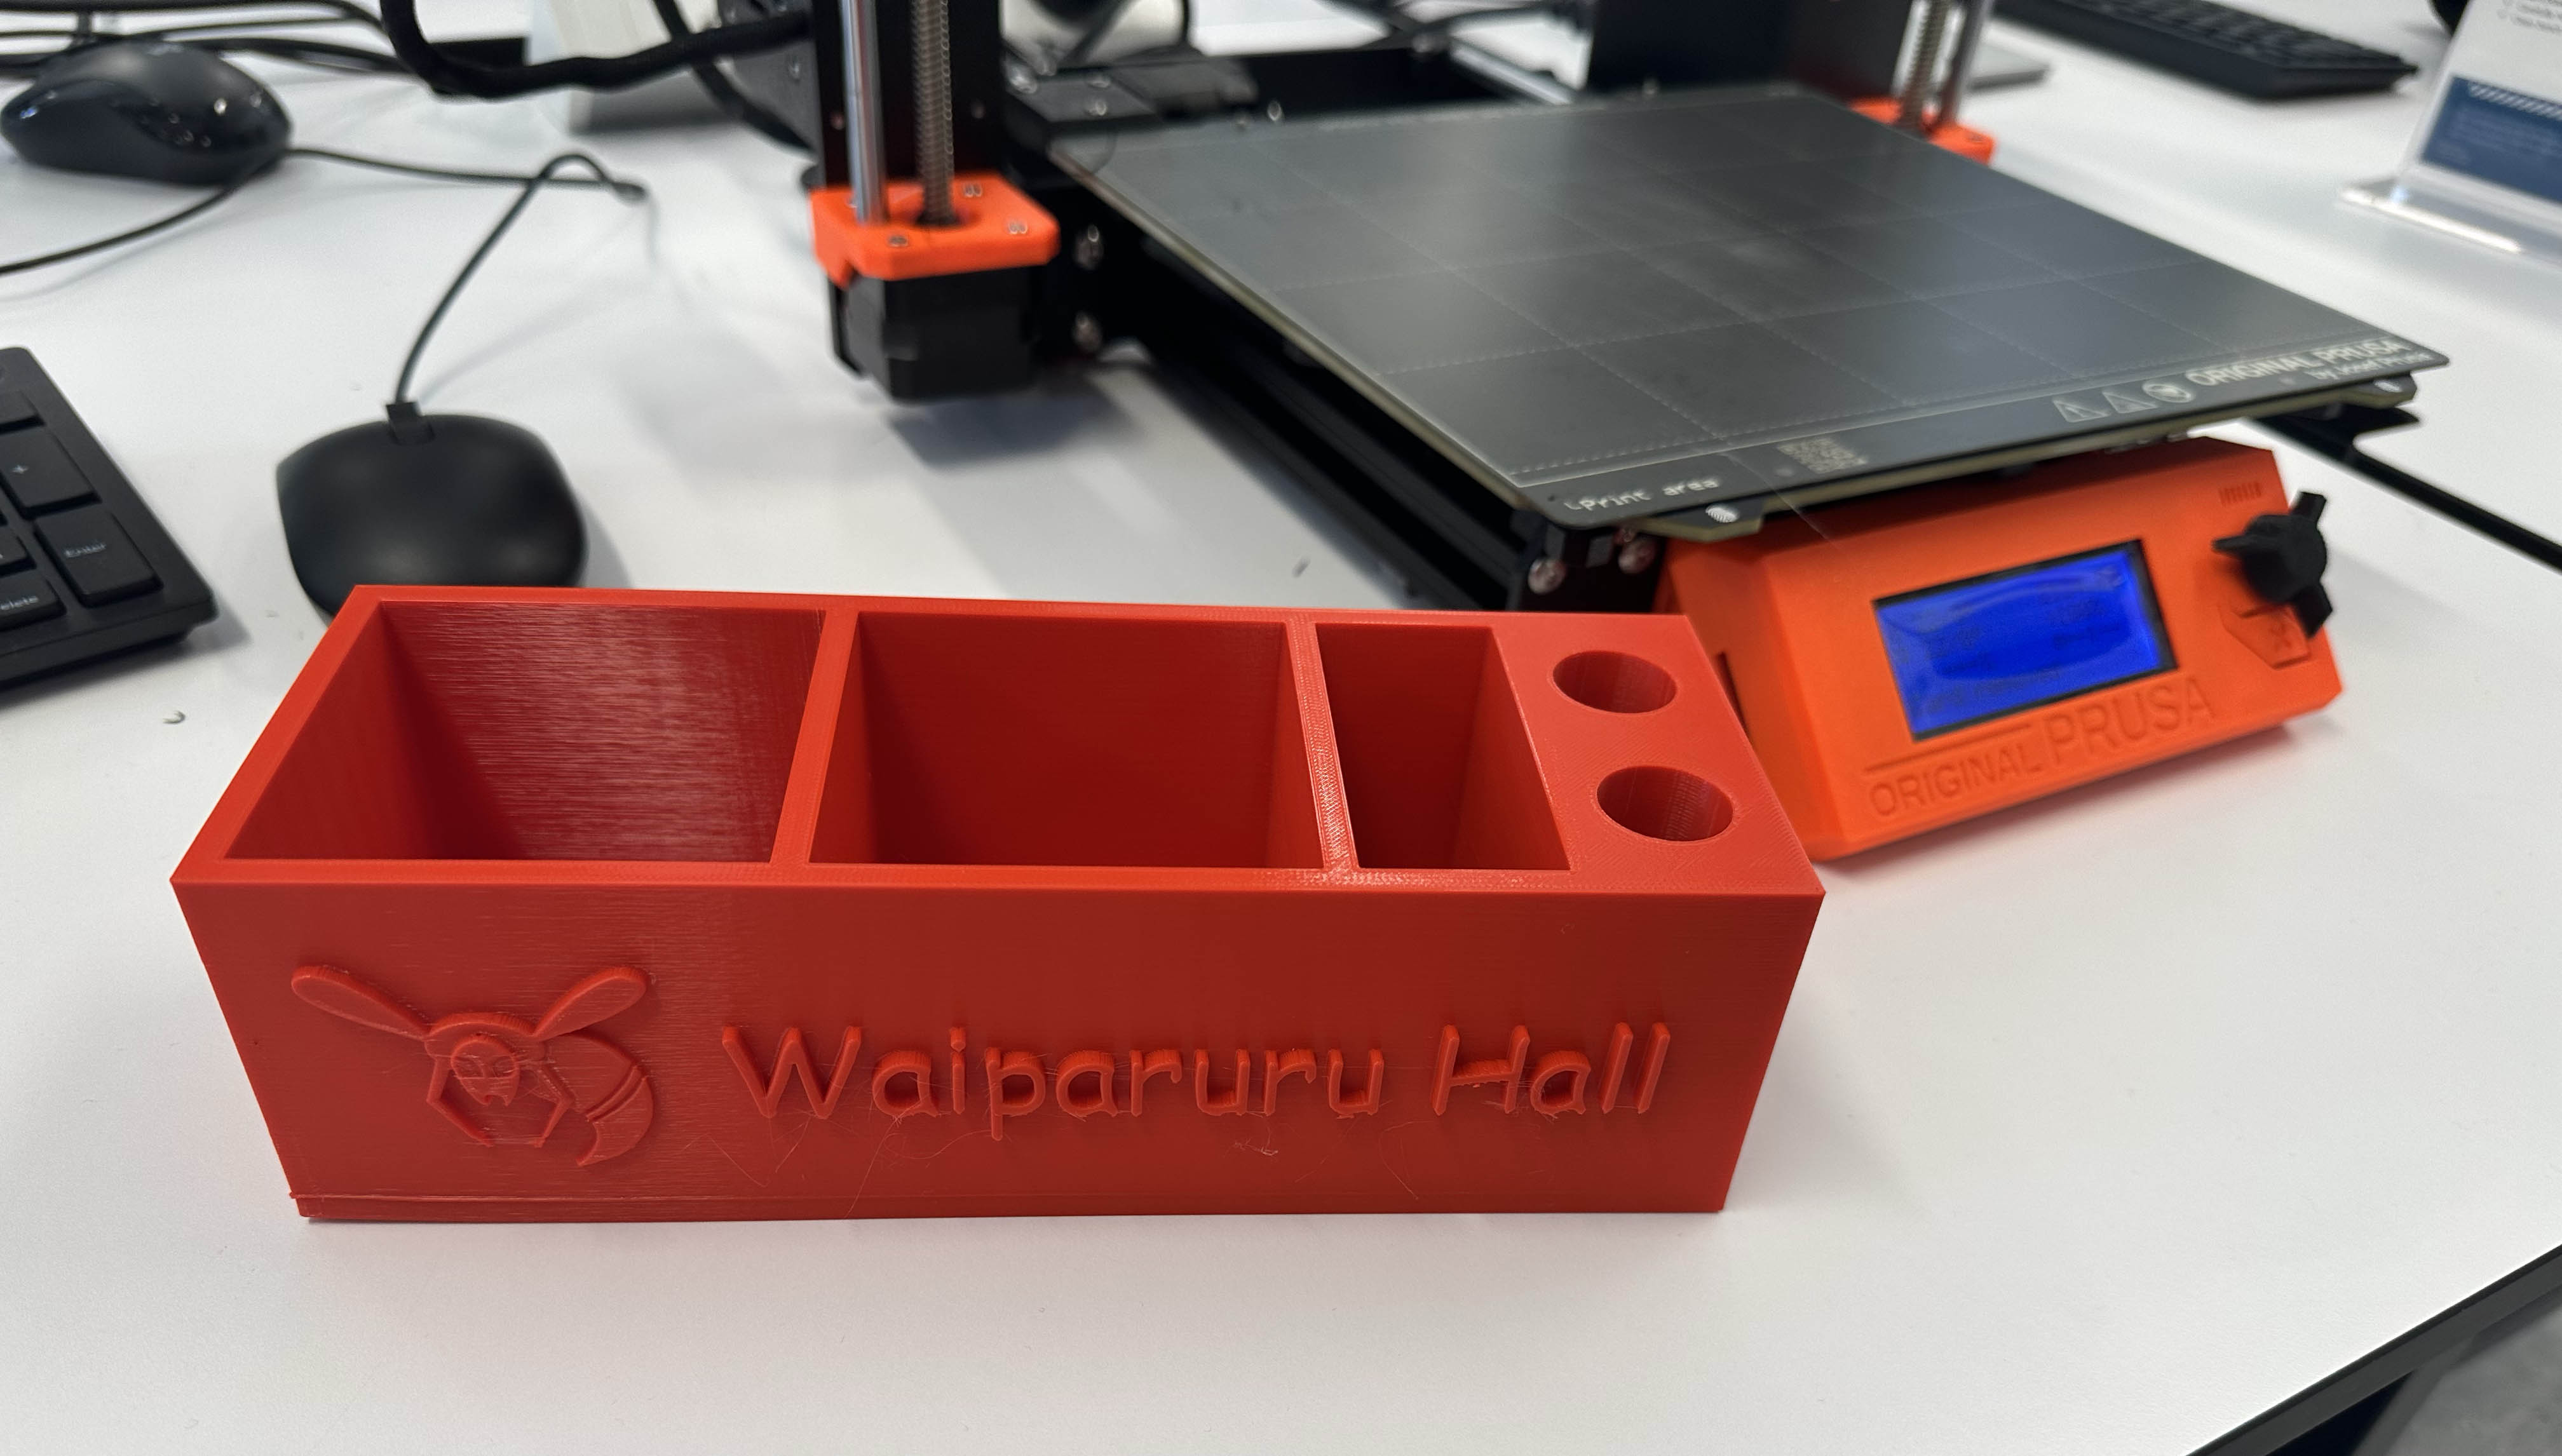
Stationaery box (large)
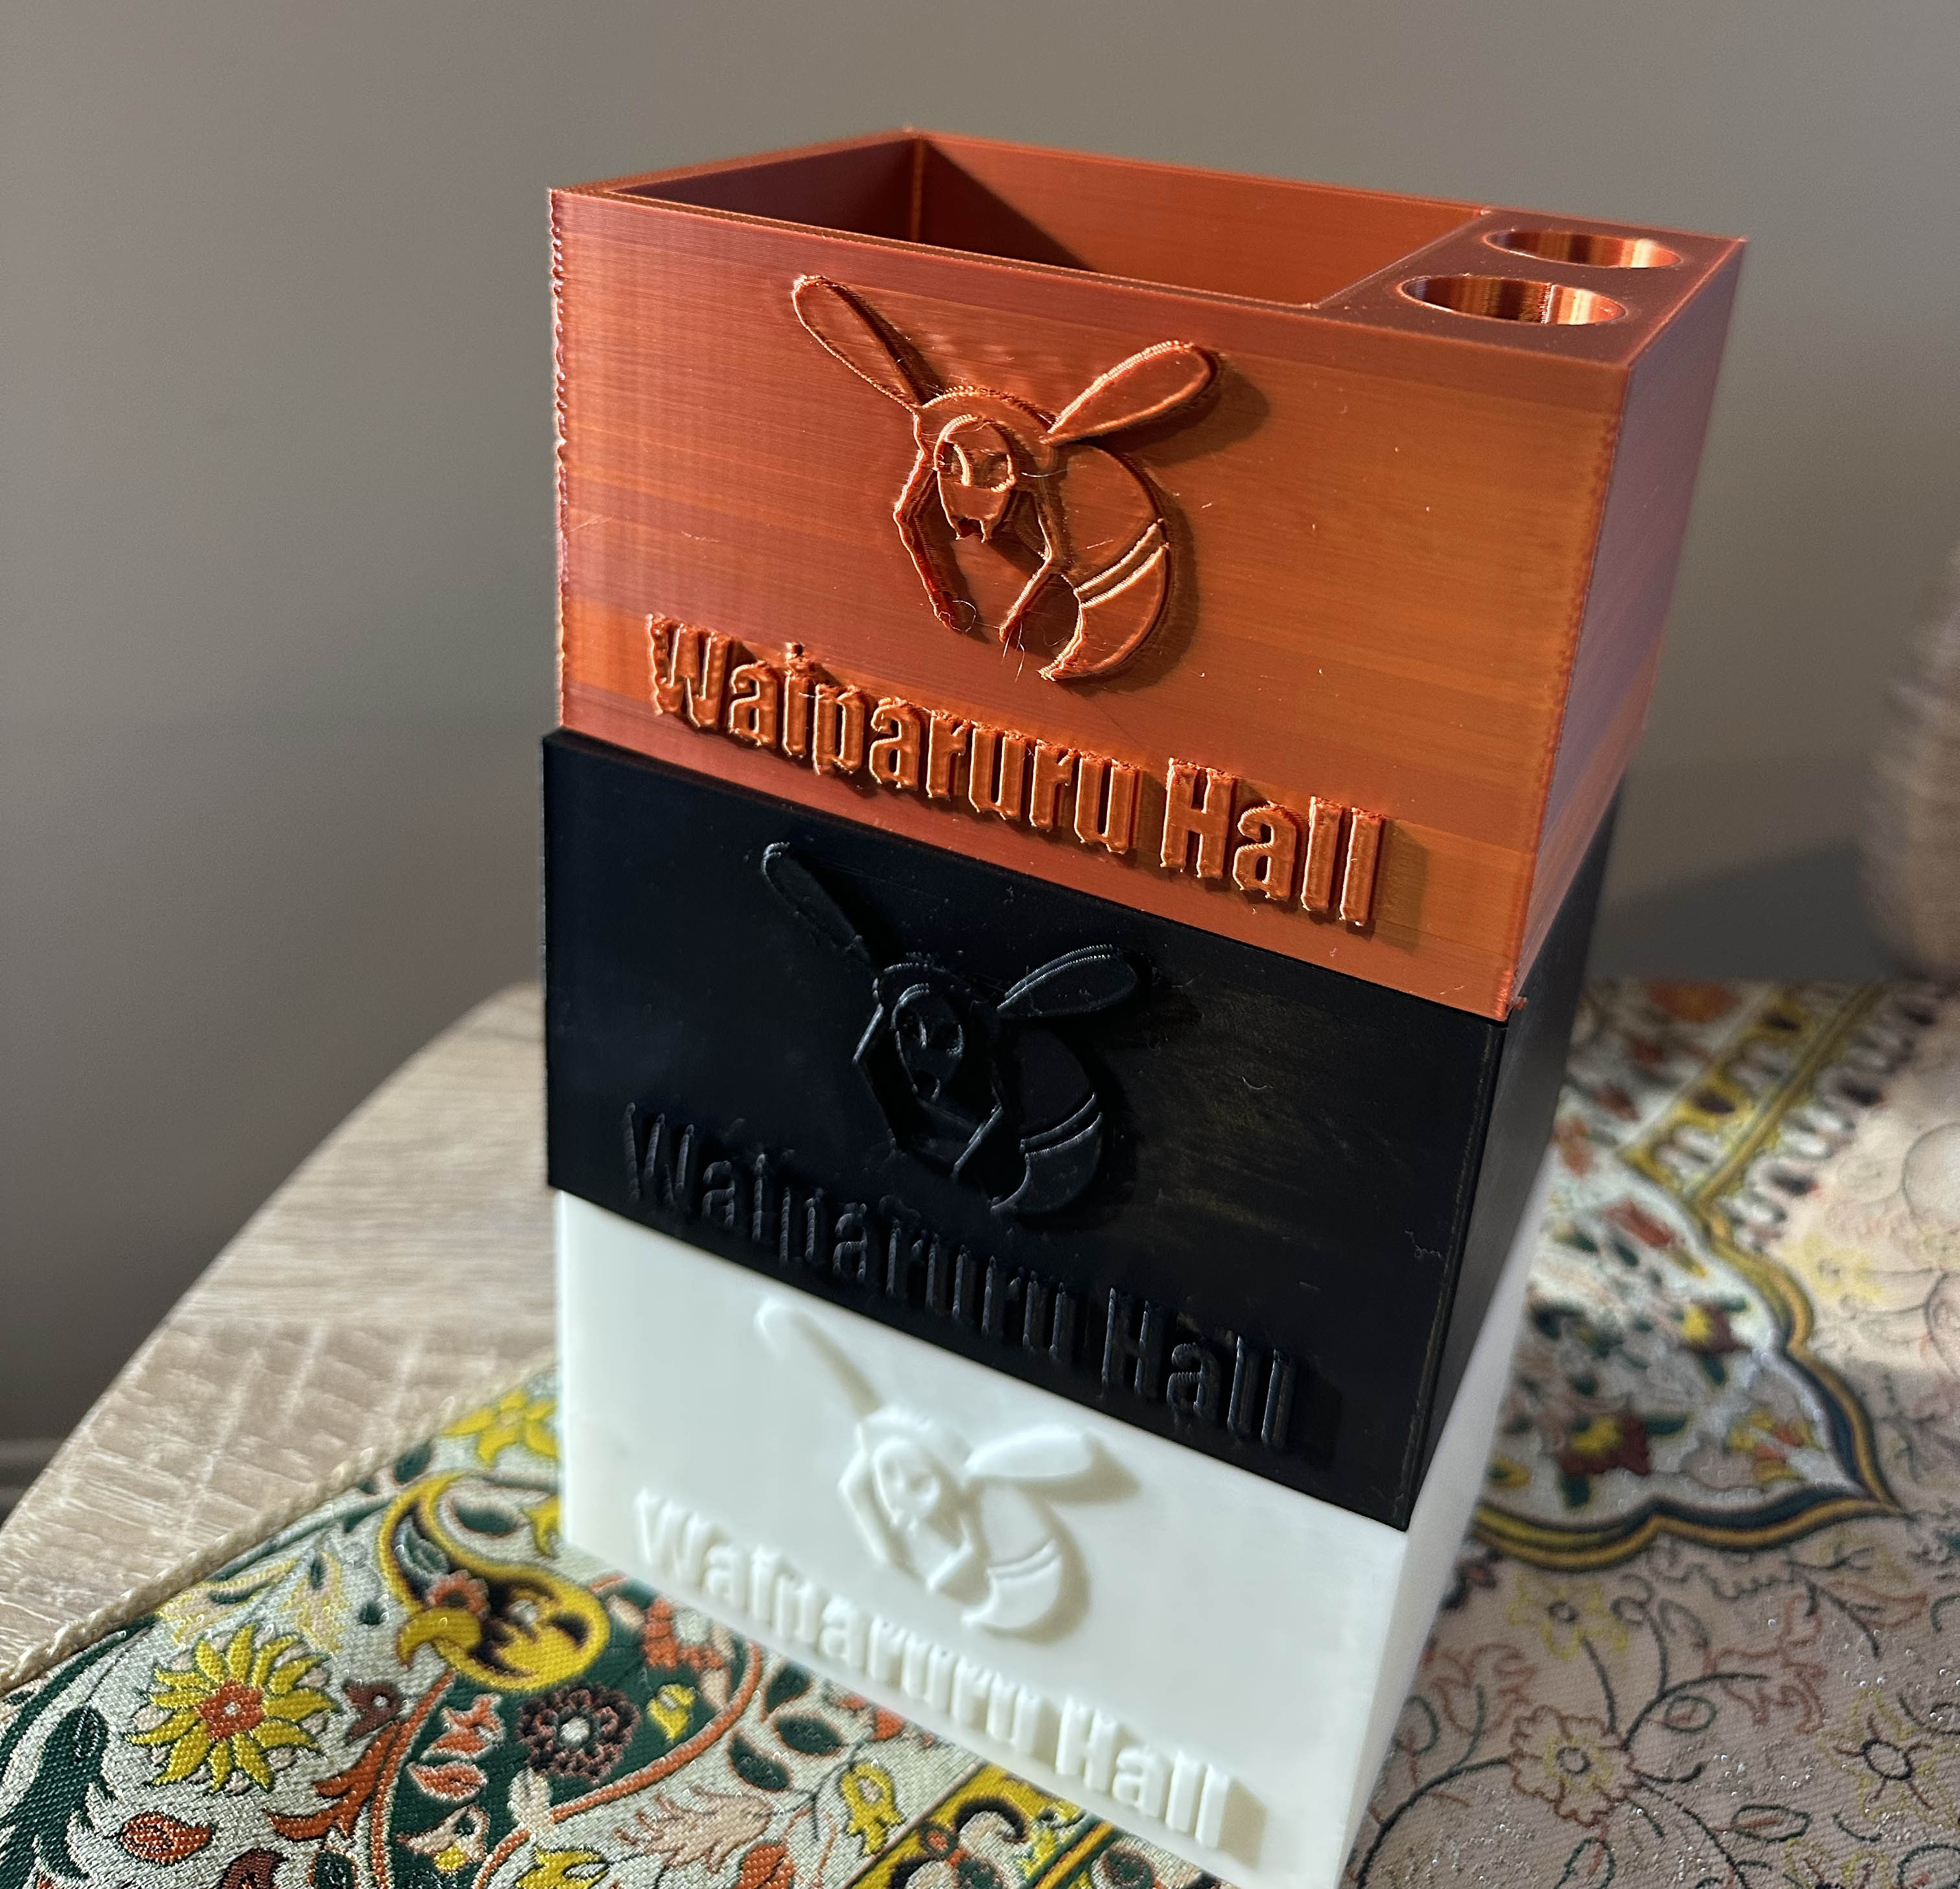
Stationery boxes (small)
Electric motor in Mechanical Workshop
This electric motor was personally built by me in the Mechanical Workshop, where I work as a Teaching Assistant. In the workshop, students and I engage in both digital fabrication—such as soldering, laser cutting, and 3D printing—and then students apply traditional mechanical techniques like drilling, bending, and cutting. Building this motor allowed me to apply and demonstrate the hands-on skills I teach, combining precision, creativity, and practical engineering.
Electric motor made in the Mechanical Workshop